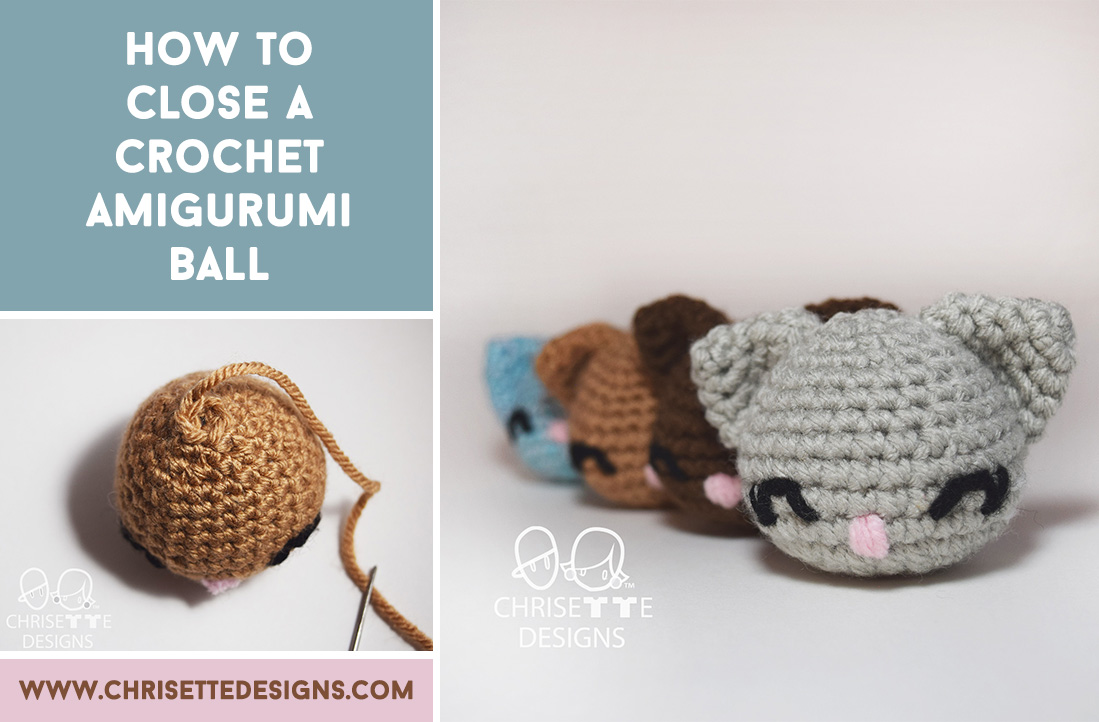
Before I learned this technique, the way I used to close up a ball was by doing a regular sc2tog (single crochet 2 together.)
I was never a fan of that because it made these gaping holes between the stitches and you could see the stuffing inside! (See photo below).

Then I learned the invisible decrease, which got rid of the gaping holes between the stitches, but didn’t have a nice finish at the end when closing up the hole.
Here is a video showing the invisible decrease:
This is how I close up the hole AFTER using the invisible decrease:
Get to your last row of the ball. In my example, there are 6 single crochet stitches in the last row.

Fasten off with a tail that is long enough to go through each stitch, and some excess to be able to sew the end inside of the ball.
Using a BENT YARN NEEDLE, sew the hole closed by going through the FRONT LOOP ONLY of each of the 6 sts (or however many stitches you have in the last row).
Pull tight to close the hole.

Hide the tail on the inside of the ball by going through the center hole.
Come back out of the ball away from the top. Then go back inside one stitch from where you just came out.

Repeat this about 2 times or more to secure the end, then cut any excess of the tail end off.
This is what it looks like when finished.
A nice clean finish that looks like the magic ring at the beginning!

For those who prefer to see this in video, I have a tutorial below!
The Chito Cat Toy pattern will be available soon for FREE on my blog!
(I named it after my parents cat “Chito”!)
Subscribe so you know when it’s posted!
(All the cool kids are doing it.)
You can follow me here:
Instagram
Facebook
Twitter


 Subscribe for a FREE baby set pattern & updates! (All the cool kids are doing it.)
I almost want to try crocheting through the back loop only. I can’t decide if a little ridge or that cute little bump would be better lol This is amazing, THANK YOU. I also very much dislike the other way with the holes.
It’s all a personal preference, so go for it if you like the back loop look! And I’m glad my blog helped 🙂