Are you a hooker that needs a place to keep your hard-earned hooking money
? This pattern will help use it up!
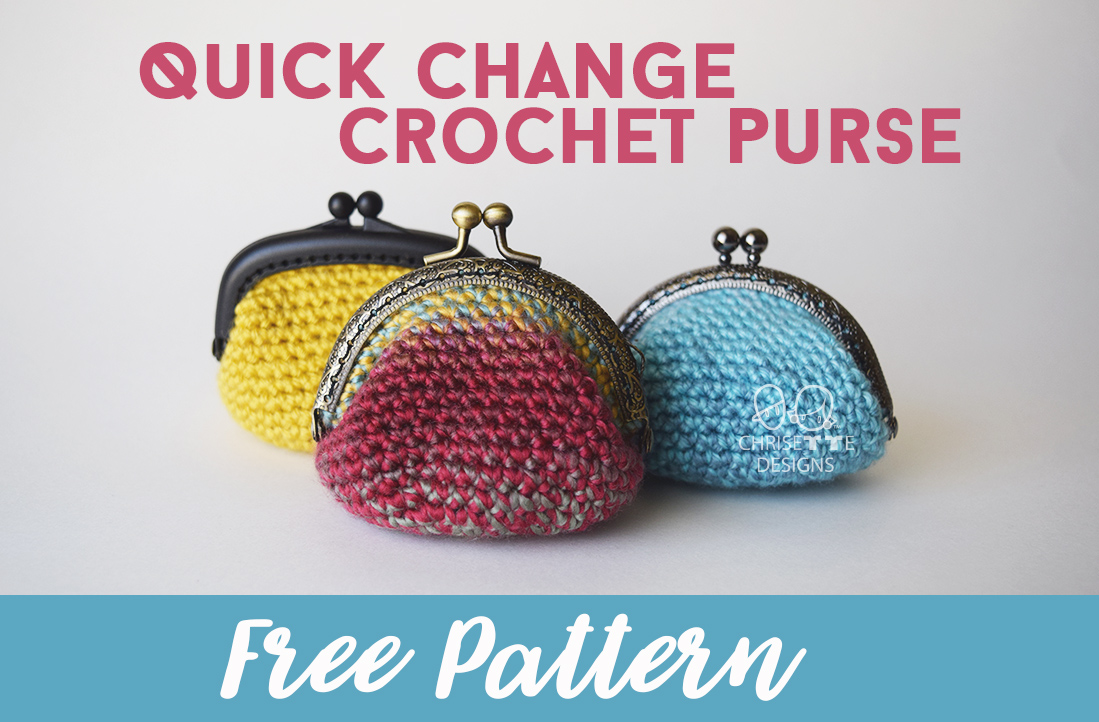
Got some scrap yarn laying around?
These are super quick and easy to make with VERY LITTLE yarn!
AND you don’t need sewing skills to attach the purse frame (trust me, I don’t have any!)
This is great for last minute gift ideas since they work up so fast. So let’s get started!

PATTERN
NOTE: This is a Chrisette Designs original design.
This pattern is NOT to be SOLD.
You may sell what you make, but must use your own photos and should credit me by showing the link to my pattern here.
If you need assistance or find a site selling my pattern, please feel free to contact me at chrisettedesigns@yahoo.com Enjoy!
MATERIALS
- 3.75 mm hook (we want to use a smaller hook than the yarn label says because we want a tight stitch so nothing falls through the purse.)
- Stitch marker. I like these Hobby Lobby ones:

3. Any size 4 worsted weight yarn. I used Hobby Lobby Brand for all 3 of the ones in the photo:
Yellow Yarn HERE

Multicolored Yarn HERE

Blue Yarn HERE

4. Sewing needle: It must fit through the holes on the purse frame,
5. Sewing thread: match the color of the purse, or something neutral.
6. Purse Frame (3.35 inches wide) I used these Hobby Lobby ones:
Silver Oval Shape.
Black Squared shape.
Gold Oval Shape.
FINISHED SIZE: about 3.375 inches wide, and about 3 inches tall. You can adjust the height by repeating the last row as many times as you wish.
STITCHES: (U.S. Terms)
Magic ring: Tutorial below:
ch: chain
sc: single crochet
st(s): stitch(es)
NOTES:
1. Work in continuous rounds.
2. Using stitch markers:
Make the first stitch of the row you are starting. Put the stitch marker in the stitch you just made. Crochet around. The last stitch of the row will be the one before the stitch marker. To begin the new round, take the stitch marker out, do one stitch where the marker was, and replace the marker right where you just stitched. Here is a video tutorial:
PURSE BODY: (Use a stitch marker).
Row 1: Make a magic ring, 6 sc into the magic ring. Pull magic ring tight. (6 sts.)
Row 2: 2 sc in each st around (12 sts).
Row 3: (1 sc in the next st, 2 sc in the next st) repeat 6 times (18 sts).
Row 4: (1 sc in the next 2 sts, 2 sc in the next st) repeat 6 times. (24 sts).
Row 5: (1 sc in the next 3 sts, 2 sc in the next st) repeat 6 times (30 sts).
Row 6: (1 sc in the next 4 sts, 2 sc in the next st) repeat 6 times (36 sts).
Row 7: (1 sc in the next 5 sts, 2 sc in the next st) repeat 6 times (42 sts).
Row 8-19: 1 sc in each st around. (42 sts).
*Sl st in the next st. Fasten off and weave the end on the inside.
NOTE: It might look too tall at this point, but once the clasp is attached, the sides will fold and not look as tall.
Also, you can repeat the last row as many times as you wish if you want a taller purse.
ATTACHING THE PURSE FRAME: With sewing thread, sewing needle and the purse frame.
*Since I hate sewing liners onto the inside, I used thread that matches the color inside so the stitches won’t show as much. No liner needed! YAY!

Supplies you will need. 
Turn the purse inside out then lay the frame right side up on top of the edge. 
You will be sewing into these holes. 
Hold it like this as you sew through
each hole.

Depending on how thick/strong your thread is, you may want to go over each hole twice. 
Do not pull and stretch it when sewing, this will distort it and it will not look centered if it is pulled tighter in some spots. 
After going through one side of the frame, tie a knot and cut your thread. Start a new thread on the second half of the purse frame 
Both sides are sewed on with the purse inside out. 
Here are the knots for each side. 
Flip it inside out back to the correct side, it will close with the right side showing.
All done!
If you liked this pattern, please support me on Ko-Fi!
Here are some patterns I’ve
designed with this purse as the base:

Piggy Coin Purse 
(Link below) 
Seymour the SLoth 
(Because you’ll SEE-MORE money when you use him!) 
They’re besties of course. 

I adore him!
You can purchase the “Piggy Coin Purse” pattern HERE
Seymour the Sloth coin purse available HERE
I’d love to see your Coin Purse creations by tagging me here:
Instagram
Facebook
Twitter
 Subscribe for a FREE baby set pattern & updates! (All the cool kids are doing it.)
Thanks for this my friend who don’t crochet asked can I make a coin purse for her. I had no ideal how to make this but I have seen the frame in Joann but still didn’t know how I am so glad that I found you to do this for her. She is my mother helper and I know she going to love it when I get everything together. Thanks Kathy
Aw that’s great to hear! Enjoy!